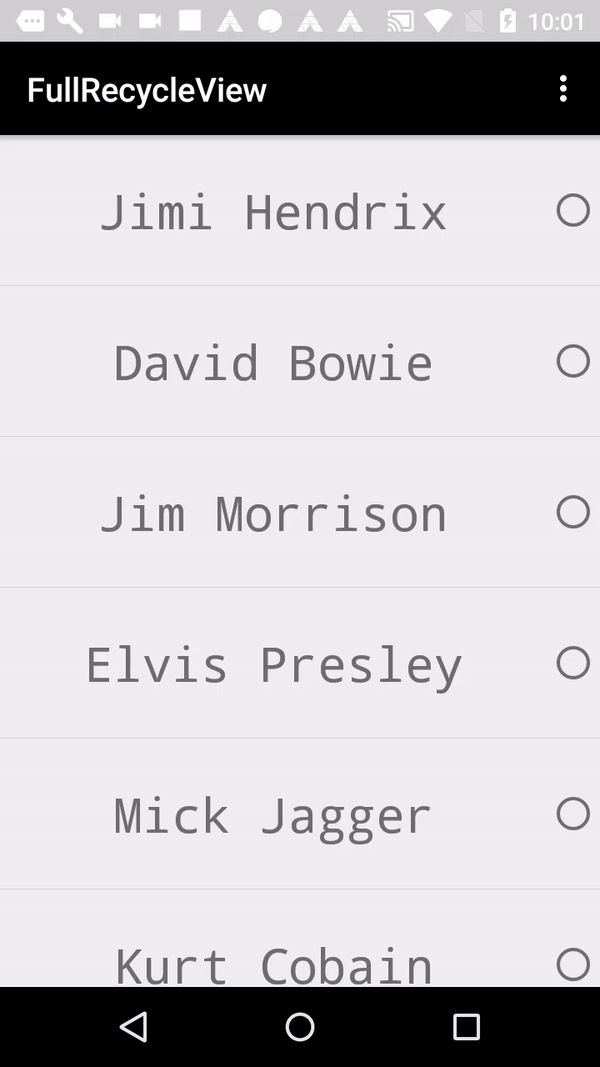
Single choice recyclerView

When we want to Multiple choice in RecyclerView, we will need these things:
– String []
– Adapter with itemClickListener
– Activity or fragment
– activity_main (recyclerView)
– list_item (TextView, CheckBox)
We use notifydatasetchanged(), it’s very important than We understand this method.
You can check the full code in GitHub.
Our views activity_main.xml (recyclerView):
<RelativeLayout xmlns:android="http://schemas.android.com/apk/res/android"
    xmlns:tools="http://schemas.android.com/tools"
    android:layout_width="match_parent"
    android:layout_height="match_parent"
    tools:context="com.thedeveloperworldisyours.fullrecycleview.single.SingleFragment">

    <android.support.v7.widget.RecyclerView
        android:id="@+id/single_fragment_recycler_view"
        android:layout_width="match_parent"
        android:layout_height="wrap_content"/>

</RelativeLayout>
and list_item.xml (TextView, CheckBox)
<RelativeLayout xmlns:android="http://schemas.android.com/apk/res/android"
    android:layout_width="match_parent"
    android:layout_height="wrap_content">

    <TextView
        android:id="@+id/single_list_item_text"
        android:layout_width="match_parent"
        android:layout_height="90dp"
        android:text="@string/app_name"
        android:typeface="monospace"
        android:layout_toLeftOf="@+id/single_list_item_check_button"
        android:gravity="center"
        android:textSize="@dimen/multiple_list_item_size_rock_stars"/>

    <RadioButton
        android:id="@+id/single_list_item_check_button"
        android:layout_width="wrap_content"
        android:layout_height="90dp"
        android:layout_alignParentRight="true"
        android:checked="false"
        android:clickable="false"
        android:focusable="false" />

</RelativeLayout>
Adapter with ClickListener
public class SingleRecyclerViewAdapter extends RecyclerView.Adapter<SingleRecyclerViewAdapter.DataObjectHolder> {

    private String[] mData;
    private static SingleClickListener sClickListener;
    private static int sSelected = -1;

    public SingleRecyclerViewAdapter(String[] mData) {
        this.mData = mData;
    }

    static class DataObjectHolder extends RecyclerView.ViewHolder implements View.OnClickListener {

        TextView mTextView;
        RadioButton mRadioButton;

        public DataObjectHolder(View itemView) {
            super(itemView);
            this.mTextView = (TextView) itemView.findViewById(R.id.single_list_item_text);
            this.mRadioButton = (RadioButton) itemView.findViewById(R.id.single_list_item_check_button);
            itemView.setOnClickListener(this);
        }

        @Override
        public void onClick(View view) {
            sSelected = getAdapterPosition();
            sClickListener.onItemClickListener(getAdapterPosition(), view);
        }
    }

    public void selectedItem() {
        notifyDataSetChanged();
    }

    void setOnItemClickListener(SingleClickListener clickListener) {
        sClickListener = clickListener;
    }

    @Override
    public DataObjectHolder onCreateViewHolder(ViewGroup parent, int viewType) {
        View view = LayoutInflater.from(parent.getContext())
                .inflate(R.layout.single_list_item, parent, false);

        DataObjectHolder dataObjectHolder = new DataObjectHolder(view);
        return dataObjectHolder;
    }

    @Override
    public void onBindViewHolder(DataObjectHolder holder, int position) {
        holder.mTextView.setText(mData[position]);

        if (sSelected == position) {
            holder.mRadioButton.setChecked(true);
        } else {
            holder.mRadioButton.setChecked(false);
        }

    }

    @Override
    public int getItemCount() {
        return mData.length;
    }

    interface SingleClickListener {
        void onItemClickListener(int position, View view);
    }

}
Activity or fragment
public class SingleFragment extends Fragment implements SingleRecyclerViewAdapter.SingleClickListener {

    SingleRecyclerViewAdapter mAdapter;

    public SingleFragment() {
        // Required empty public constructor
    }

    public static SingleFragment newInstance() {
        return new SingleFragment();
    }

    @Override
    public void onCreate(Bundle savedInstanceState) {
        super.onCreate(savedInstanceState);
    }

    @Override
    public View onCreateView(LayoutInflater inflater, ViewGroup container,
                             Bundle savedInstanceState) {
        // Inflate the layout for this fragment
        View view = inflater.inflate(R.layout.single_fragment, container, false);
        RecyclerView recyclerView = (RecyclerView) view.findViewById(R.id.single_fragment_recycler_view);

        String[] list = new String[]{"Jimi Hendrix", "David Bowie", "Jim Morrison", "Elvis Presley",
                "Mick Jagger", "Kurt Cobain", "Bob Dylan", "John Lennon", "Freddie Mercury", "Elton John", "Eric Clapton"};

        mAdapter = new SingleRecyclerViewAdapter(list);
        recyclerView.setAdapter(mAdapter);
        recyclerView.setHasFixedSize(true);
        RecyclerView.LayoutManager layoutManager = new LinearLayoutManager(getActivity());
        RecyclerView.ItemDecoration itemDecoration =
                new DividerVerticalItemDecoration(getActivity());
        recyclerView.addItemDecoration(itemDecoration);
        recyclerView.setLayoutManager(layoutManager);
        mAdapter.setOnItemClickListener(this);
        return view;
    }

    @Override
    public void onItemClickListener(int position, View view) {
        mAdapter.selectedItem();
    }
}